The squat is an incredibly effective exercise for training your entire lower body and core…
…if it’s done correctly.
And there are many ways to do it wrong.
What many people don’t realize, though, is that doing it right isn’t necessarily easy.
In fact, many people lack the flexibility to squat properly. They couldn’t do a single perfect rep even if they wanted to.
This is especially true for people that have been squatting incorrectly for long periods of time because it can, in the case of half-repping, reduce flexibility and range of motion, and otherwise ingrain poor movement patterns that are hard to change.
Well, in this article, we’re going to talk about how to get to being able to squat properly and comfortably.
We’re going to look at the mechanics of the squat and how it should look, and how to use hip and ankle flexibility and mobility exercises to overcome common obstacles that prevent people from squatting like they should.
Let’s start with what a good squat actually looks like.
Table of Contents
+What a Proper Squat Looks Like
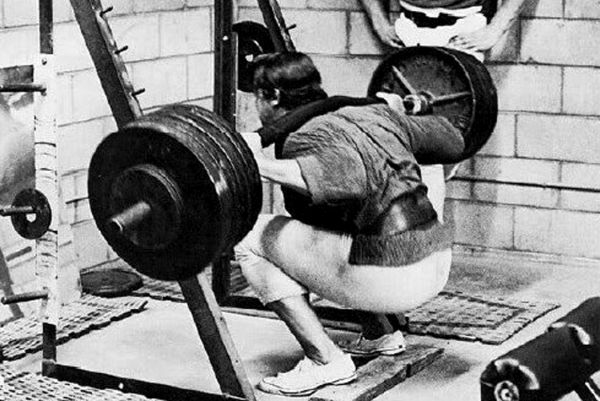
The most common squat mistake we see is the partial squat.
You know, this kind of nonsense:
My knees ache just watching that!
Ironically, the partial squat does have valid uses, but are most relevant to strength training programs and are never used exclusively.
The majority of your squatting should be either of the parallel or full variety.
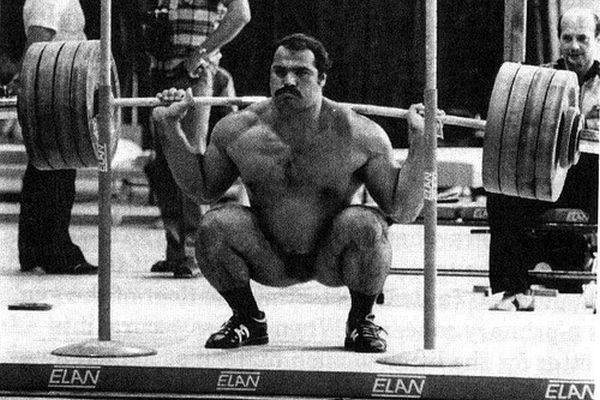
Here’s what the parallel squat looks like:
As you can see, his legs are reaching (and going a little deeper than) the parallel (to the ground) position, and this requires a fair amount of hip and ankle flexibility to do properly.
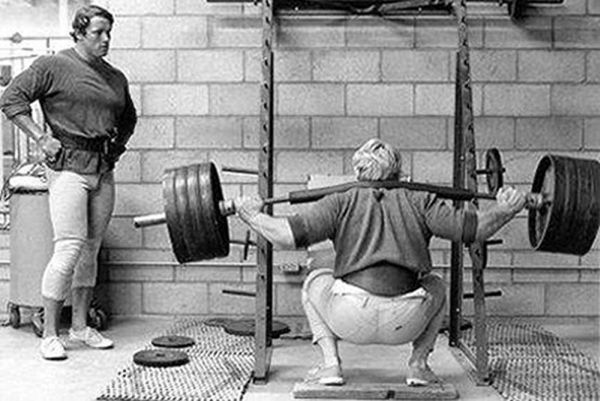
Here’s what the full squat looks like:
As you can see, the legs break the parallel plane and the butt comes to within a few inches of the floor at the bottom of each rep.
This requires significant lower body flexibility to do safely.
Now, it’s not directly related to mobility and flexibility, but let’s take a quick detour to address a very common squatting question:
Are parallel or full squats better?
Well, in terms of working your legs, the deeper you go, the more effective the squat, so the full squat is technically the best for building lower body strength and size.
That said, it also requires a large amount of lower body flexibility to do correctly. So much so that I generally recommend that people master the parallel squat first and then gradually work their way into the full squat.
And there’s nothing wrong with never full squatting, either.
If your goal is simply to build a strong, muscular lower body, you don’t need to full squat. In fact, I’d say that it probably won’t even get you to your goal faster. Parallel squatting will get the job done just fine.
How to Improve Hip Flexibility and Mobility for Squatting
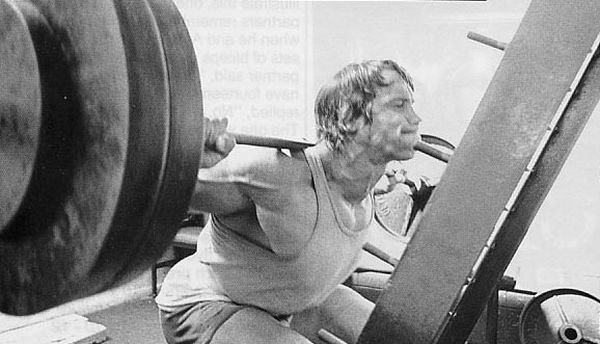
Lack of hip flexibility is probably the most common problem that prevents people from squatting properly.
The big problem many people run into has to do with hip flexion, which is the technical term for a decrease in the angle between the thigh and pelvis (as your knee rises, hip flexion occurs).
There are several small muscles involved in hip flexion, and if they can’t move through a full range of motion, you are going to have a lot of trouble squatting correctly.
Fortunately, there are several stretching exercises that you can do to improve hip flexibility. Here are my favorites:
Kneeling Hip Flexor Stretch
This is one of the best stretches for releasing hip flexor tightness.
Work on this for 2-3 minutes per leg, and then move on to the next stretch below.
Psoas Quad Stretch
The psoas major is a pelvic muscle that plays a key role in hip flexion. Here’s what it looks like:
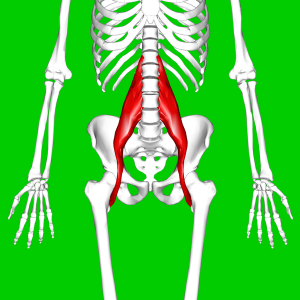
When this muscle is too tight, squatting can be a nightmare.
Here’s a great stretch for releasing the psoas, which looks simple but can be quite uncomfortable if you’re lacking flexibility:
You perform this stretch by assuming the position, and then driving your knee into the ground and leaning forward, getting a good stretch, followed by releasing.
Perform this drive and release pattern for 2-3 minutes for each leg.
Your Weekly Hip Flexibility and Mobility Routine
If you do those stretches as described 3-4 times per week, you should see marked improvements within a few weeks.
How to Improve Ankle Flexibility and Mobility for Squatting
Ankle flexibility can affect your squat, you’re wondering?
Yup.
If your heels want to lift off the ground as you’re descending toward the bottom of the squat, or if you tend to shift the weight forward onto your toes, then your ankles are probably tight.
Loosen them up and you’ll probably find that you can drop into the bottom of the squat much easier, with the weight solidly on your heels and your spine in a neutral position.
To improve your ankle flexibility and mobility, you can mash up and stretch the tissues of your feet, ankles, and calves.
Here’s a great video from MobilityWOD showing how to do it properly:
As you can see, you’ll need a lacrosse ball for this (size 1 or 2), which can be used to perform quite a few mobility exercises.
Here’s a simple one I use:

Your Weekly Ankle Flexibility and Mobility Routine
Do the ankle routine outlined the video above several times per week (in addition to your hip work), and the improvements should be noticeable within several weeks.
How to Practice Proper Squat Form
As you improve your hip and ankle flexibility and mobility, you’ll find it easier and easier to squat properly.
In order to get the squat form down so perfectly that you don’t even have to think about it, I recommend you do the following squat drill at the end of each of your flexibility and mobility sessions.
It will teach you proper squat form through repetition and also show how much the stretching exercises are helping.
Wall Squat
The wall squat is a simple but effective way to assess and improve your squat form. Here’s how it works:
- Face the wall about a foot width away, with your feet shoulder width apart and turned slightly out.
- Fully extend your arms above your head and place your palms against the wall, arms parallel with each other.
- Push your hips back and lower yourself down into a full squat position (or as low as you can go), with your hands remaining on the wall. Don’t allow your head, knees, or torso to touch the wall.
- Focus on keeping your knees in line with your toes (pushed out), and your chest up. Keep your spine in a neutral position (no pronounced rounding or arching).
- If your head, knees, or torso touch the wall, stop at this point, fix your form, and hold the position. Move around a bit to get a good stretch.
Here’s a video that shows how to do it:
The Bottom Line on Improving Flexibility and Mobility for Squatting
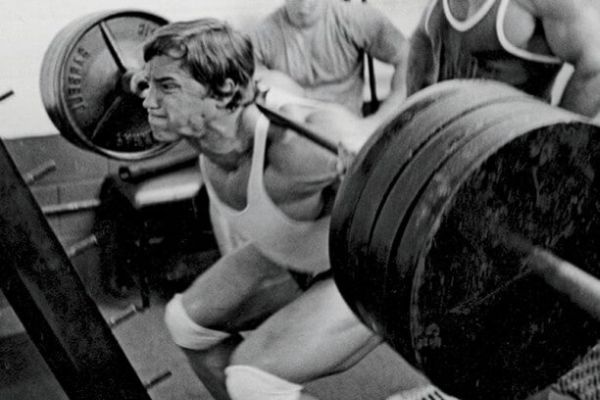
Squatting with good form isn’t as easy as it looks.
It requires above average lower body flexibility, good balance, and a fair amount of kinesthetic awareness. It is, in many ways, an acquired skill.
One of the biggest obstacles to acquiring that skill is tight muscles, ligaments, and tendons, which, unfortunately, don’t necessarily get better with more squatting.
That’s why many people should be doing special exercises like those outlined in this article.
So if you’re having trouble with the fundamentals of the squat, like reaching proper depth, keeping the weight on your heels, or preventing your knees from buckling in, start doing this mobility routine and you should see a rapid and dramatic improvement in your squatting.
