The Scale Is Not The Only Metric That Matters
Scale weight rarely tells the full story. It’s entirely possible to gain a pound of muscle and lose a pound of fat simultaneously; the scale won’t budge, but your body composition has improved.
Because of this, Legion Coaching clients take progress photos before they start and every 4 weeks. While these instructions were designed for our clients, the principles are just as effective if you’re training on your own.
It gets easier. This process might feel like a lot of work at first, but it quickly becomes second nature. And while it requires effort upfront, having visual proof of your hard work is 100% worth it.
Don’t skip the “before” photos. If you are currently far from your goal, you might feel hesitant to step in front of the camera. Do it anyway. In 6 to 12 months, having visual proof of where you started will be invaluable.
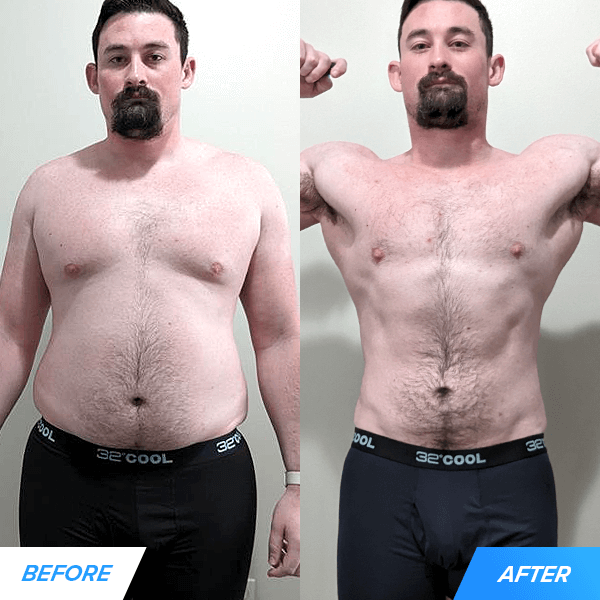
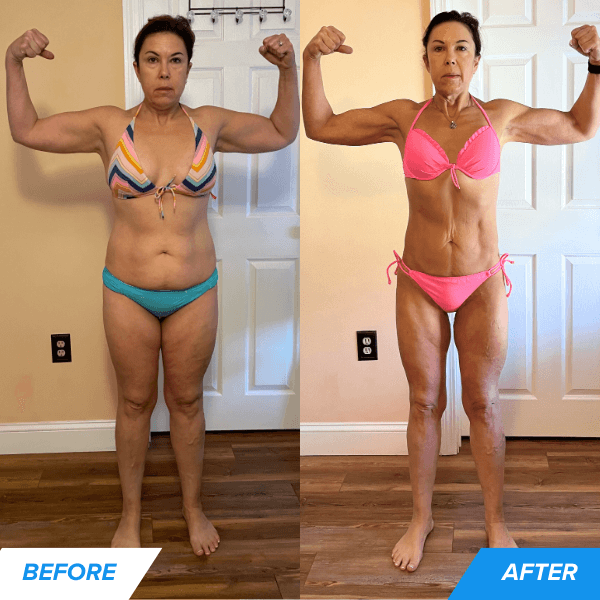
Ultimately, while target body weights and body fat percentages are useful, your satisfaction with what you see in the mirror is the best indicator of whether to keep pushing or shift into maintenance.
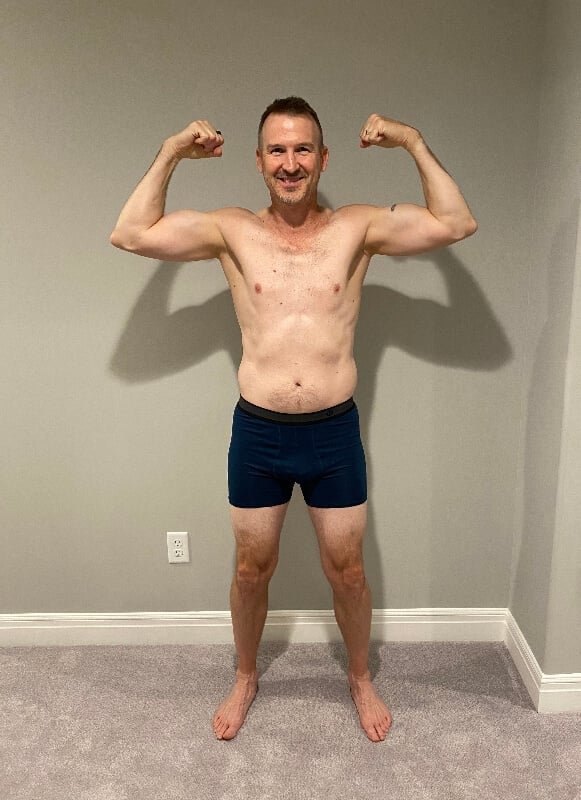
See what is possible with consistency:
Instructions
Precision is vital. Take your photos at the start of your program and every four weeks following the guidelines below.
General Guidelines
- Standardization: Use the exact same setup (clothing, camera, lighting, background, and pose) for every batch.
- Timing: Take photos in the morning, after using the bathroom and before eating.
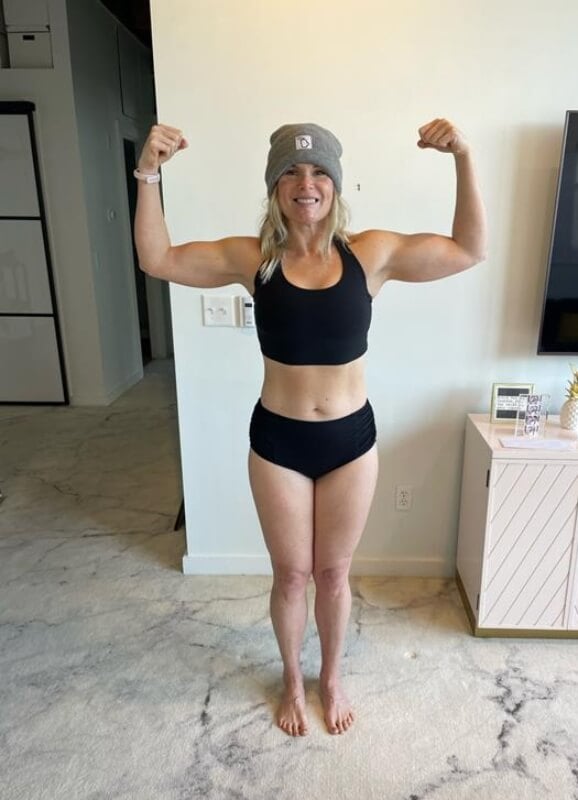
- Apparel: Show as much skin as comfortable (e.g., sports bra/bikini for women) to clearly see body changes.
- Quality: Ensure photos are clear, well-lit, and free of shadows.
The Shot List
You need to capture 6 photos total to see a full 360-degree view of your development. Muscle groups develop at different rates, and fat loss occurs differently for everyone, so having every angle is critical.
-
Front View
-
-
1. Relaxed: Stand naturally with your hands at your sides.
-
-
-
2. Flexed: Lift your arms up and flex your biceps (double bicep pose). Flex your abs to show definition.
-
-
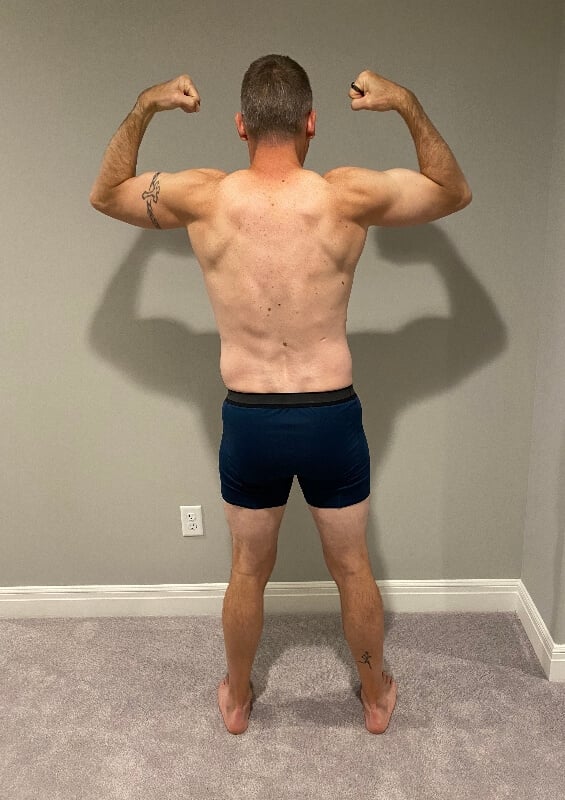
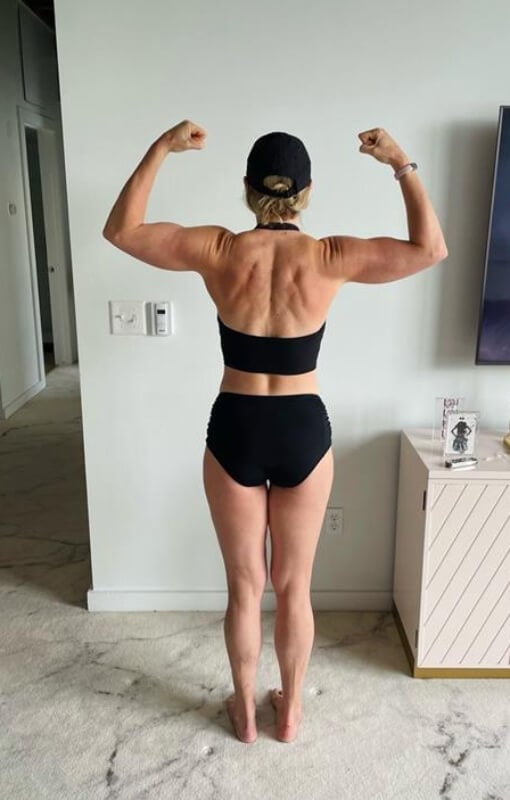
Back View
-
-
3. Relaxed: Stand naturally with your hands at your sides.
-
-
-
4. Flexed: Lift your arms up and flex your biceps.
-
-
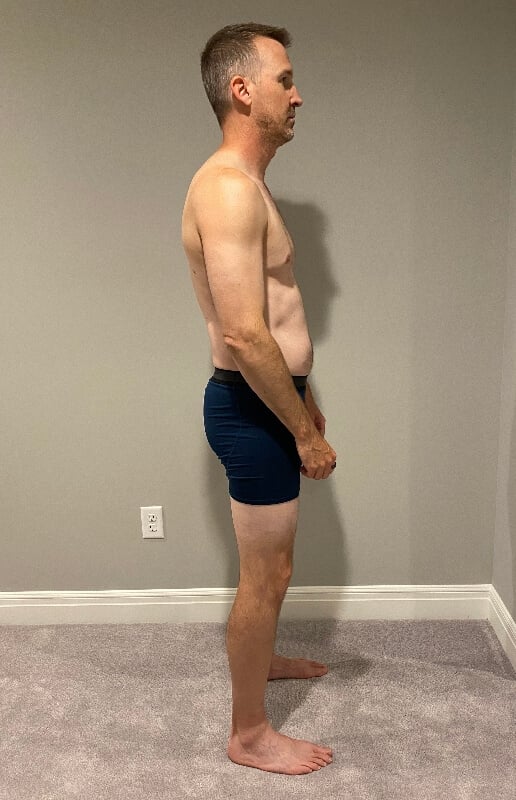
Side Views
-
-
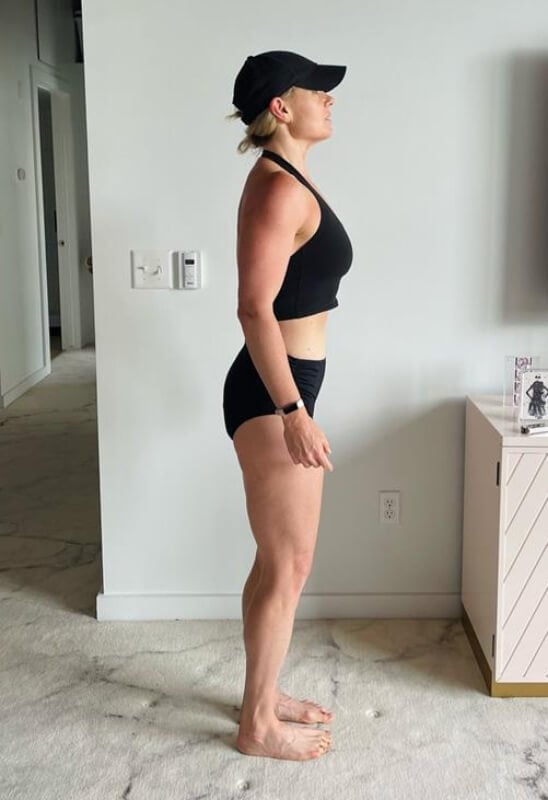
5. Left Side (Relaxed): Stretch your arms straight out in front of you at shoulder height (like a zombie). This ensures your arms do not block the view of your midsection. You can have your hands at the side, but “zombie arms” give a better view of your midsection, especially as you get leaner.
-
-
-
6. Right Side (Relaxed): Same position—arms stretched forward to keep your torso visible.
-
Summary Checklist:
- Front Relaxed
- Front Flexed
- Back Relaxed
- Back Flexed
- Left Side (Arms Forward)
- Right Side (Arms Forward)
Visual Reference: The Perfect Batch
The Setup
How to get consistent, high-quality progress photos.
The Golden Rule: Maintain a chest-height camera position and ensure your full body is centered in the frame. Consistency in positioning is the only way to allow for accurate comparisons over time.
NO MIRROR SELFIES. Selfies are too variable and don’t provide the consistency or symmetry needed for progress photos. Please use one of the methods below instead.
Option 1: The Tripod (Best Method)
Investing in a tripod is the best way to save time and get the most out of your coaching program. You will use this for progress photos and for filming exercise sets for form review and correction. There are plenty of options on Amazon in the $20–$30 range (like this one).
- Step 1: The Location. Find the best spot in your home with good lighting and a blank/neutral background.
- Step 2: The Setup. Use the main camera of your phone (the rear-facing lens, which is higher quality). Take a few test shots to ensure you are centered and in focus. You will need to play with the height and angle a bit to get it right.
- Pro Tip: Once you find the perfect spot for the tripod, mark the floor with a small piece of clear tape. This makes it effortless to recreate the exact setup next month.
- Step 3: The Shot. Many tripods come with a Bluetooth remote. Hold the remote discreetly in your hand, get in position, snap a photo, and move to the next pose.
- Step 4: Review & Organize. Double-check the photos to ensure they aren’t blurry.
- Save them to a digital folder (Desktop or Cloud) named: Fitness Progress Photos (Date)
- Email the photos to your coach.
Option 2: Solo (No Tripod)
- Prop & Aim: Prop your phone at chest height on a shelf or stack of books.
- The Timer: Set a 10-second timer on your camera app.
- Position: Step back until your full body is in frame.
- First Review: Check the first photo immediately to make sure it is clear and well-lit.
- The Process: Repeat the process for each pose. Set the timer, step into position, and wait for the photo to take.
- Final Review: Do a final review of the batch to ensure they aren’t blurry; adjust lighting and retake any if necessary.
- Finish: Store photos in your folder and email them to your coach.
Option 3: Assisted (Partner or Friend)
This is a very workable method, but it does require coordination and introduces slightly more variation than the tripod option. However, a partner provides real-time accountability and someone to celebrate your wins with!
- The Backdrop: Find a well-lit space with a neutral background.
- The Height: Have your partner hold the phone at chest height (not eye level).
- The Frame: Position your entire body in the center of the frame.
- The Review: Cycle through your poses and review the shots immediately for clarity.
For Legion Coaching Clients
Your coach will use these monthly sets of progress photos to make sure you’re moving in the right direction. After an initial round or two of fat loss and muscle gain phases, progress photos become a useful tool to program workouts to bring up weak areas and use targeted exercises to create a more balanced physique.
Questions? Send your coach a DM in the app for quick help, or bring it up during your weekly review and planning call to do a deep dive.
For Non-Clients
If you have any questions, please email us at [email protected] or call/text (727) 396-0400.
Are you stuck? If you aren’t happy with how you look and you have been struggling to make progress, book a free coaching consultation to see if we can help. We’ve helped over 4,000 people of all ages and abilities reach their goals. We don’t just give you a plan; we provide the 1-on-1 expert accountability you need to stay the course.
And there is no risk with our Results Guarantee: If you follow the program and don’t see results, we will work with you for up to 3 months for free.
Schedule Your Free Consultation Call Now
Still unsure? Take our 60-second Coaching Recommendation Quiz and find out if we’re the right fit for your goals.